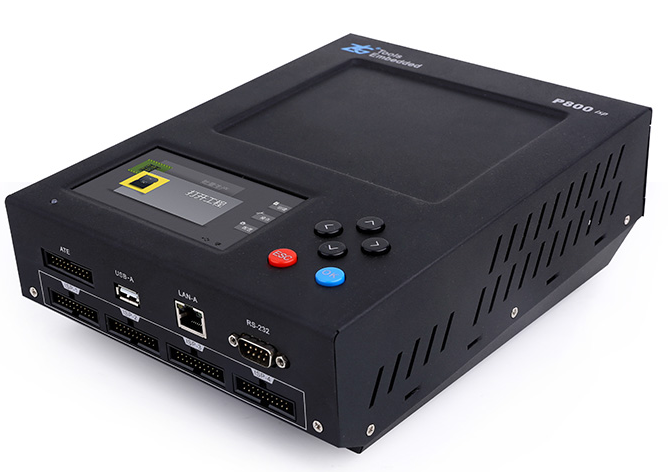
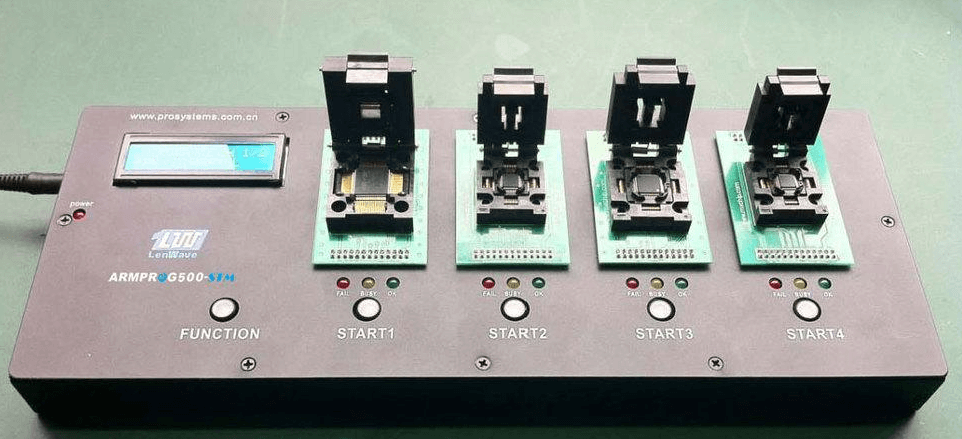
The burners can be divided into universal burners, mass-production burners, and special burners in terms of function. The special-purpose burner has the lowest price and has fewer types of applicable chips. It is suitable for programming with a certain type or type of special chip, for example, it only needs to program the PIC series. The full-featured general-purpose type generally covers almost (not all) of the current chips that need to be programmed. Due to the troublesome design, the high cost limits sales, and the final price is extremely high. It is suitable for situations where many types of chips need to be programmed.
contents
- 1. What is a burner
- 2. The working principle of the burner
- 3. How to use the burner
1. What is a burner
The burner is actually a tool for writing data on programmable integrated Circuits. The burner is mainly used for the programming (or flashing) of chips such as single-chip microcomputer (including embedded)/memory (including BIOS).
The writer is called a programmer in mainland China. Because Taiwan’s semiconductor industry developed early, after arriving in the mainland, customers called it “programmer” because the English name is now PROGRAMMER. This English name is the same as that of general software programmers, so it’s called “programmer”. “.

2. The working principle of the burner
The principle of the writer is to change the 010101 structure inside the chip by powering on the chip within the permitted timing range for a programmable chip within the allowable timing range, so as to achieve the desired effect. ZLG Zhiyuan Electronics SmartPRO 5000U-PLUS series burners can stably support MCU, Nor Flash, FPGA, CPLD and other chips.

3. How to use the burner
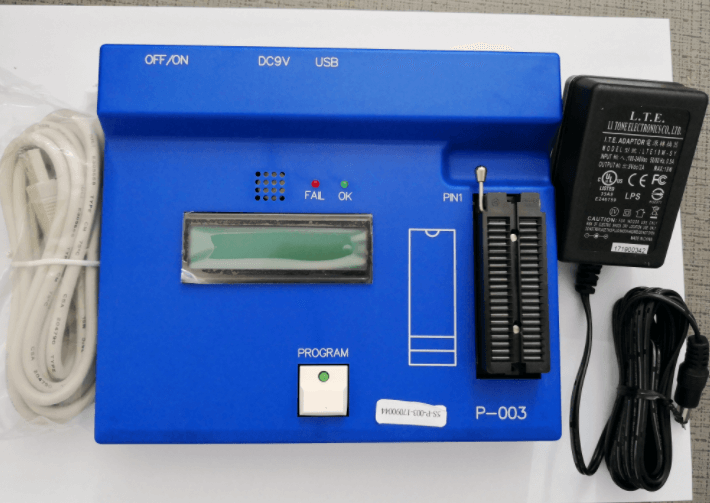
Step 1: Insert the chip to be programmed (such as BIOS) into the programming card socket in the correct direction (the chip notch is on the wrench of the card socket).
Step 2: Insert the matching cables into the serial port of the computer and the communication port of the programmer.
Step 3: Turn on the power of the writer (the power is 12V), and the light of the power LED in the middle is on, indicating that the power is normal.
Step 4: Run the writer software, then the program will automatically monitor the type of communication port and chip, and then from the writer software, load the pre-prepared burned file (hex file).
Step 5: Then start programming, and then the writer starts to program the program to the chip. After the programming is completed, the writer will prompt that the programming is complete. At this time, turn off the power of the programmer and remove the chip.

Links: